
Blogs
How to Remove Diesel Grime Properly
Jul
Diesel grime tells you a lot about how a vehicle works, where it operates and how hard it earns its keep. It also tells customers, drivers and workshop staff whether cleaning standards are under control. If you need to know how to remove diesel grime properly, the answer is not just more chemical or more pressure. It is using the right product, in the right strength, on the right surface, with enough dwell time to break contamination without damaging paint, alloy, rubber or plastics.
Diesel grime is rarely one thing. On heavy vehicles, it is usually a mix of road film, soot, grease, oil mist, fuel residue, dust and moisture that bakes onto surfaces over time. Around tanks, chassis rails, steps, wheel arches and engine bays, it can build into a sticky black layer that standard wash soaps will barely shift. That is why operators often waste time repeating the wash instead of changing the process.
What makes diesel grime hard to remove
The main problem is that diesel residue binds other contaminants together. Fine dust sticks to oily film. Soot settles into porous surfaces. Heat from the engine or exhaust hardens the layer and makes it cling tighter. On trucks and commercial vehicles, that contamination often sits on a mix of painted panels, polished metal, plastic guards, hoses and rubber seals, so there is no single cleaner that suits every area.
That matters because the wrong approach can create a second job. An aggressive solvent may cut through heavy grease fast, but it can also dull trim or stain sensitive finishes. On the other hand, a mild wash detergent is safer but may leave behind the oily layer that keeps attracting more dirt. Good cleaning is about matching chemistry to the contamination level.
How to remove diesel grime without causing damage
Start with a surface assessment. Fresh diesel film on a tank fairing or lower door skin usually responds well to a strong traffic film remover or heavy-duty wash. Old buildup around an engine bay, fifth wheel area or underbody often needs a dedicated degreaser or solvent-based cleaner. If the grime is mixed with baked-on carbon or grease, you may need a two-step process rather than trying to force one product to do everything.
Always begin dry where possible. If there are thick deposits, scrape or wipe off the heaviest material first so the cleaner can get to the surface underneath. Applying product over a heavy crust often wastes chemical and extends the job.
After that, pre-rinse the area if you are dealing mainly with mud, salt or loose road soil. A rinse helps remove the top layer and stops you grinding abrasive grit into painted surfaces. If the contamination is mostly oily, some operators prefer to apply degreaser to a dry surface for better bite. That can work well, but only if the product is designed for it and the panel is cool.
Choose the cleaner by area, not by habit
For painted exterior panels, fairings and tanks, use a professional traffic film remover or alkaline cleaner designed for transport washing. These products are built to lift road film and diesel residue without being unnecessarily harsh. They are a practical first step for routine fleet washing where speed and consistency matter.
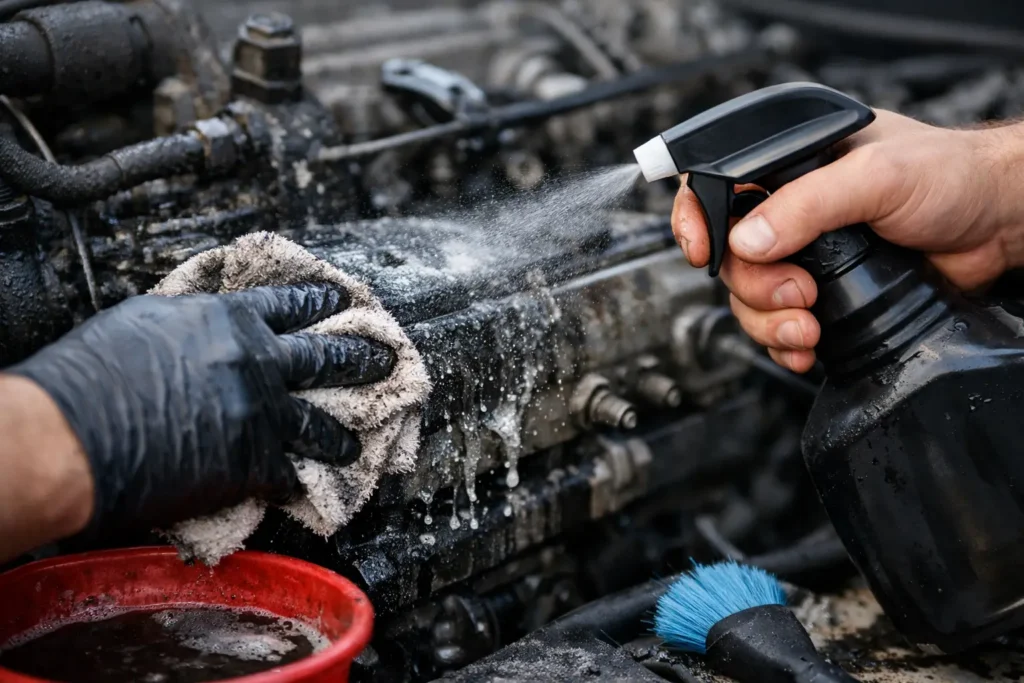
For chassis, suspension components, engine surrounds and greasy workshop areas, a heavier degreaser is usually the better fit. This is where you need stronger oil-cutting performance. In stubborn zones, agitation with a brush is often what turns an average result into a clean finish.
For engine bays, be more selective. Electrical connectors, sensors, exposed filters and older wiring all need care. A controlled spray pattern, moderate dwell time and low to medium pressure rinse is usually safer than blasting everything at full pressure. Fast cleaning means very little if the vehicle leaves with electrical issues.
For alloy wheels and polished metal near diesel fallout, avoid assuming your wheel acid or brightener will solve it. Diesel grime is an oily contamination first. Deal with the grease layer before you move to specialised wheel or metal cleaning products.
The cleaning process that works in the real world
Apply the chosen cleaner from the bottom up on vertical surfaces. That gives more even coverage and reduces streaking. Let it dwell long enough to break the contamination, but do not let it dry on the surface. In warm weather or direct sun, your working window gets shorter, so section cleaning is often the smarter option.
Agitation matters more than many people think. A soft truck brush, detailing brush or hand pad helps work cleaner into textured plastics, seams, rivet lines and greasy corners where diesel grime hangs on. High pressure alone can remove loose matter, but it often leaves the bonded film behind.
Rinse thoroughly, again from a sensible distance rather than forcing the lance too close. Too much pressure on decals, seals, electrical areas or soft trim creates avoidable damage. Check the panel while it is still wet. If water sheets away unevenly or you can still see dark smearing, there is still oil on the surface and a second targeted application may be needed.
For badly neglected vehicles, do not expect perfection in one hit. Some diesel grime has been accumulating for months. Two controlled cleaning cycles are usually safer and more effective than one highly aggressive pass.
Common mistakes when removing diesel grime
One of the biggest mistakes is using a general car shampoo for heavy diesel contamination. It may foam well and smell pleasant, but it is often not built to break down oily transport grime. The result is wasted labour and a finish that still feels greasy.
Another is over-concentrating the product. Stronger is not always better. Overuse can leave residues, mark sensitive surfaces and increase rinsing time. Follow the dilution guidance for the contamination level and test first if the finish is delicate or unfamiliar.
There is also the habit of cleaning hot surfaces straight after the vehicle comes in. Heat shortens dwell time, causes premature drying and can make some cleaners react unpredictably. If you can, let the vehicle cool before starting.
Finally, avoid using one rag across everything. Diesel grime transfers easily. If you wipe oily contamination from a chassis part and then move straight to painted trim or cabin entry points, you are spreading the problem.
How to remove diesel grime from different surfaces
Painted panels are generally the most forgiving if you use the right transport wash or degreaser at the correct strength. The key is not to let strong product dry, especially on dark colours.
Rubber and plastic trims need a bit more care. Heavy solvents can dry them out or leave them patchy. Use a cleaner suited to automotive plastics and rinse thoroughly.
Polished aluminium and bare alloy can react badly to the wrong chemical. If appearance matters, test in a small area first and avoid harsh alkaline or acidic products unless they are clearly suitable for that material.
Concrete workshop floors, loading areas and wash bays often collect diesel grime as runoff. Here, a floor degreaser with broom agitation usually works better than simply hosing the area. It is also a safety issue. Oily floors create slip risk and leave the whole workspace looking poorly managed.
Keeping diesel grime under control
The easiest grime to remove is the grime that has not had time to bake on. Regular maintenance washing makes a big difference, especially for fleets working in mixed road, industrial and rural conditions. A weekly or fortnightly schedule is often enough to stop light diesel film turning into a heavy degreasing job.
It also pays to separate routine wash products from heavy corrective cleaners. That gives staff a clearer process and helps protect finishes over time. If every wash becomes a full-strength degrease, surfaces wear faster and chemical use climbs unnecessarily.
For operators managing multiple vehicles, standardising the process is where real gains happen. Use the same dilution guides, the same application method and the same tools across the fleet. That improves consistency and makes it easier to spot when a vehicle has an underlying leak rather than just normal grime.
A professional supplier can help narrow down the right cleaner for your vehicle type, wash frequency and operating environment. For transport operators and workshops, that support matters just as much as the product itself because the wrong chemical system costs time every single wash.
Knowing how to remove diesel grime is really about getting control back into the job – cleaner vehicles, safer work areas and less wasted effort trying to scrub off what the wrong product left behind.
