
Blogs
How to Remove Brake Dust Properly
Jun
Brake dust has a way of making a clean vehicle look neglected fast. On daily drivers, workshop stock, dealership vehicles and heavy-use fleet units, it builds up on the face of the wheel, around the spokes and deep in the barrel, where heat and road grime bake it on. If you want to know how to remove brake dust properly, the key is not more scrubbing. It is using the right chemistry, the right tools and the right process for the wheel finish in front of you.
Brake dust is more than ordinary dirt. It is a mix of carbon residue, adhesive binders, metal particles from pads and rotors, and general road contamination. That matters because once it gets hot and stays on the wheel, it can bond to the surface and stain clear-coated, painted, alloy and polished finishes. On neglected wheels, what looks like dust may already be etching or embedded contamination.
Why brake dust is hard to shift
The challenge with brake dust is heat. Every time the brakes work, the wheel area is exposed to high temperatures. Fine particles stick to the wheel, then combine with moisture, road film and traffic grime. Over time, that contamination becomes far more stubborn than a standard wash mitt can handle.
This is why general car wash soap often falls short. It will remove loose dirt, but it usually will not break down the iron-rich residue and greasy film that sit behind the visible black layer. That is where dedicated wheel-cleaning products earn their place, especially when vehicles are cleaned frequently under commercial conditions.
How to remove brake dust without damaging wheels
The safest way to work is to start with the least aggressive method and only step up if needed. That protects the finish and reduces unnecessary labour.
Begin on cool wheels, out of direct sun if possible. Hot wheels can cause wheel cleaners to flash off too quickly, which reduces performance and increases the risk of marking sensitive finishes. Rinse first to remove loose grit. This matters more than many people realise, because dragging dry grit around with a brush is one of the easiest ways to scratch coated wheels.
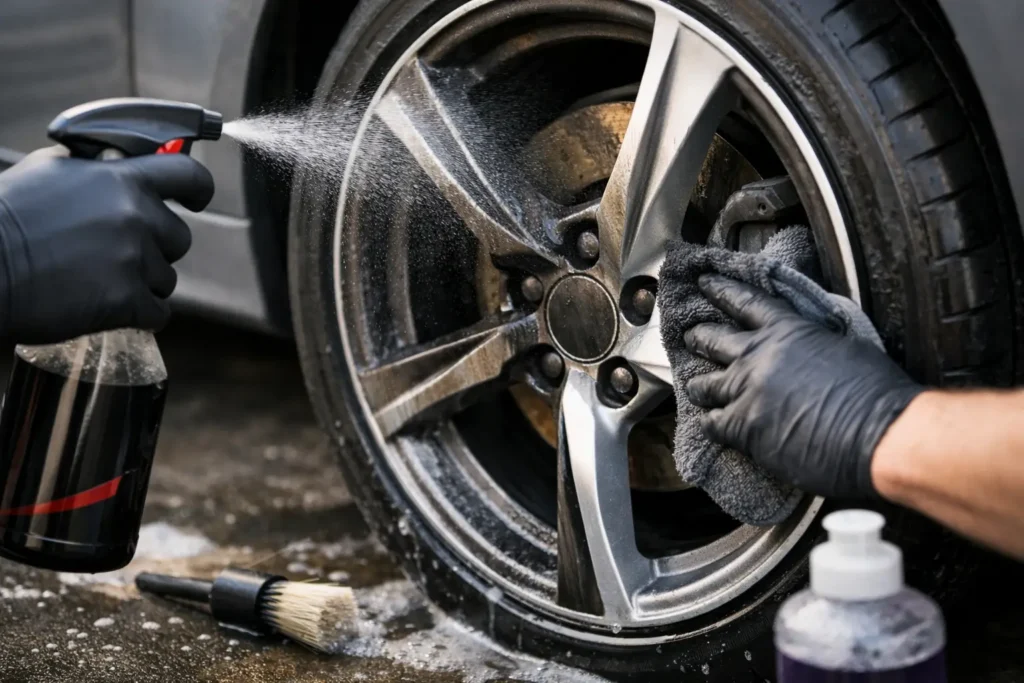
Apply a purpose-made wheel cleaner that suits the wheel type and contamination level. Let it dwell long enough to break down grime, but do not let it dry on the surface. Agitate with soft wheel brushes or a dedicated wash mitt for wheels, working the face first, then into spokes, nuts and the inner barrel. Rinse thoroughly.
If the dust has been left too long, one pass may not be enough. A second application is often the right move. Repeating a safe process is usually better than reaching straight for a harsh chemical or stiff brush.
Match the cleaner to the wheel
Not every wheel cleaner is suitable for every finish. Clear-coated factory alloys are usually more forgiving than raw aluminium, anodised wheels or damaged finishes with chips and peeling lacquer. Acid-based wheel cleaners can be effective in some trade settings, but they require care, training and proper assessment of the surface. On delicate or unknown finishes, a non-acidic professional wheel cleaner is often the safer choice.
That trade-off matters for workshops and fleet operators. A stronger product may save time on severe contamination, but if it is used on the wrong wheel, the cost of damage quickly outweighs any gain in speed. In practice, reliable results come from having more than one wheel-cleaning option available and using them with intent.
Use the right agitation tools
A proper wheel brush does more than speed up the job. It helps reach areas where brake dust accumulates most heavily, especially behind spokes and around the inner barrel. Soft bristles are the standard choice for modern wheels. Stiff brushes and abrasive pads have their place in heavy-duty cleaning, but not on delicate painted or clear-coated surfaces.
It also pays to keep wheel tools separate from bodywork tools. Brake dust contains metallic contamination, and the last thing you want is transferring that onto paintwork during the main wash.
The step-by-step process for heavy brake dust
Where wheels are badly neglected, process control is what gets the result. Rushing tends to waste product and effort.
Start with a strong rinse, ideally pressure-assisted, to remove loose contamination. Apply your wheel cleaner evenly and allow a short dwell time based on the product instructions. Agitate with a face brush, then a smaller detail brush around wheel nuts, valve stems and tight corners. Follow with a barrel brush for the inside of the wheel where brake dust often sits thickest.
Rinse fully and inspect before the wheel dries. If staining remains, you may be dealing with bonded iron fallout rather than surface grime alone. In that case, an iron-removal product or decontamination step may be needed, depending on the finish and how severe the build-up is. For some commercial vehicles and fleet units, especially those cleaned on a maintenance cycle rather than a detailing cycle, reducing the contamination safely may be the practical target rather than chasing a cosmetic perfection standard on every wash.
Common mistakes when removing brake dust
The biggest mistake is cleaning wheels after the rest of the vehicle. Wheels are the dirtiest area and should be done first, before wash water and tools are contaminated.
Another common issue is letting product dry on the wheel. This can leave residue, streaking or surface marking, particularly in warm conditions. The third is using household cleaners, degreasers or improvised chemicals that are not designed for wheel finishes. They may cut grime, but they can also strip protection, dull the surface or damage coatings.
There is also a tendency to over-scrub. If a wheel cleaner has had no dwell time, the operator ends up trying to compensate with pressure. That is inefficient and increases the risk of marring. Better chemistry, used correctly, usually reduces the need for force.
How to keep brake dust from building up again
Once you have removed the contamination, maintenance becomes much easier. A protected wheel sheds dirt better than an unprotected one, and regular washing stops dust from baking on.
For trade users, the most efficient approach is frequency rather than heroics. Clean wheels often enough that contamination never gets the chance to harden. On fleet vehicles, service loan cars, dealership stock and work utes, that usually means making wheel cleaning a fixed part of the wash routine rather than a corrective job only done when wheels turn black.
Wheel sealants and protective coatings can help, but expectations should stay realistic. They reduce adhesion and improve cleanability. They do not stop brake dust completely. Pad type, driving style, vehicle weight and route conditions all influence how quickly wheels soil again.
Different vehicles, different levels of dust
Not all brake dust issues are equal. European vehicles with softer pad compounds often produce heavier visible dust. Performance vehicles can do the same. Commercial vehicles may deal with a different mix of road grime, grease and metallic residue, especially in mixed-use or stop-start work.
That means the right cleaning method depends on the vehicle’s role. A detailer preparing a premium car for delivery may work to a much finer cosmetic standard than a transport operator focused on keeping a working fleet presentable and serviceable. Both jobs need effective brake dust removal, but the acceptable time investment and product choice may differ.
When brake dust is no longer just dirt
Sometimes the wheel still looks dirty after cleaning because the finish has been permanently affected. Heat, neglected contamination and harsh previous cleaning can all leave etching, pitting or staining that does not wash away. In those cases, further improvement may require machine polishing, refinishing or wheel repair, depending on the surface.
This is where experience matters. Knowing whether you are looking at removable contamination or surface damage stops wasted time and prevents overuse of chemicals. For professional operators, that judgement is part of delivering consistent results.
A professional standard is mostly about consistency
The best answer to how to remove brake dust is not a miracle shortcut. It is a repeatable process. Cool wheels, proper rinse, the right wheel cleaner, suitable brushes, enough dwell time and a thorough rinse-off will handle most brake dust safely and efficiently. Where contamination is heavier, step up carefully and match the product to the finish.
That practical approach is why professional-grade systems continue to outperform improvised cleaning. Brands such as SuperShine build around that reality – dependable chemistry, fit-for-purpose accessories and support that makes day-to-day cleaning easier for workshops, fleets and serious vehicle owners alike.
Clean wheels change the whole presentation of a vehicle, but they also say something about standards. If the job is done properly and done often, brake dust becomes manageable instead of a constant fight.
